
Introduction
Printers are essential devices for both personal and professional tasks. However, encountering a situation where your printer stops responding after connecting to Wi-Fi can be frustrating. This issue often arises due to connectivity glitches, incorrect configurations, or outdated software. In this guide, we’ll walk you through the possible causes and solutions to fix a printer that’s not responding after connecting to Wi-Fi.
Common Causes of Printer Not Responding After Connecting to Wi-Fi
Before diving into solutions, it’s essential to understand the reasons behind the problem:
- Weak Wi-Fi Signal
A poor Wi-Fi connection between your printer and router can lead to communication issues. - IP Address Conflicts
Printers often rely on unique IP addresses for network communication. Conflicts can hinder functionality. - Outdated Printer Drivers
Drivers act as a communication bridge between the printer and computer. Outdated drivers may not support newer system updates. - Firewall or Antivirus Restrictions
Sometimes, firewall settings or antivirus software block the printer’s network communication. - Incorrect Configuration
Misconfigured printer settings or network details can cause the printer to fail to respond. - Firmware Issues
Outdated firmware on your printer may also prevent it from functioning correctly over Wi-Fi.
How to Fix a Printer Not Responding After Connecting to Wi-Fi
1. Check Your Wi-Fi Network Connection
Ensure that the printer is connected to the correct Wi-Fi network. Follow these steps:
- Navigate to your printer’s control panel or settings menu.
- Verify the Wi-Fi status. Ensure it’s connected to the same network as your computer or device.
- Restart your router and printer to refresh the network connection.
2. Restart Your Devices
Sometimes, a simple restart can resolve communication issues:
- Turn off your printer and unplug it from the power source.
- Restart your computer and router.
- Reconnect and power on the printer.
3. Update Printer Drivers
Outdated drivers can prevent your printer from functioning properly. Here’s how to update them:
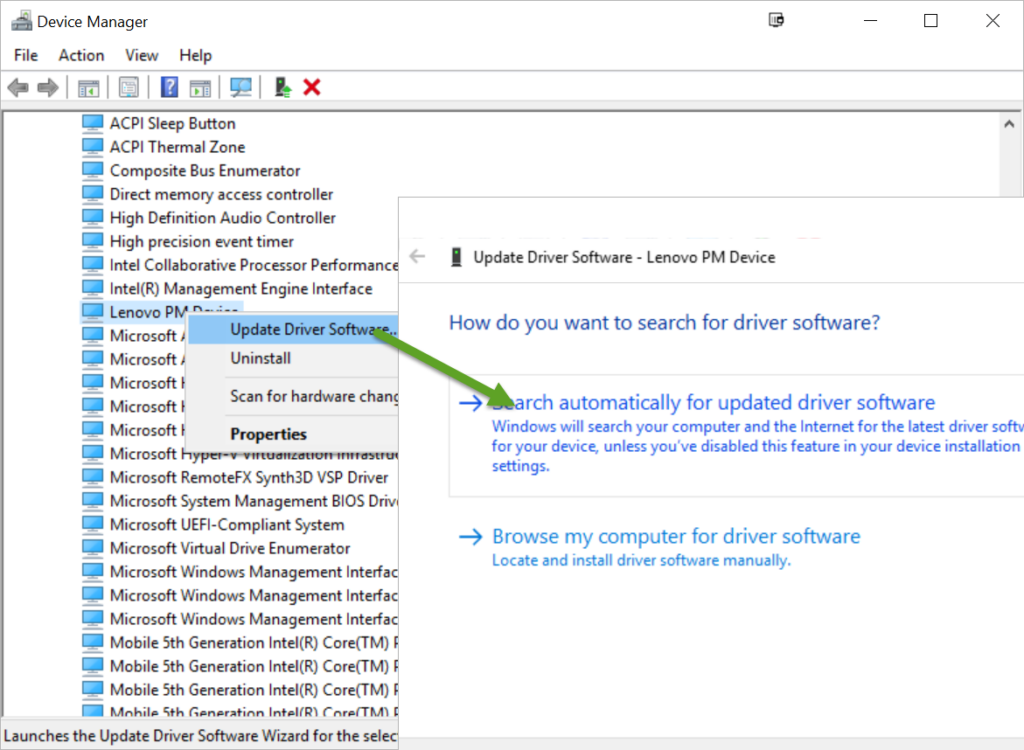
- Windows Users:
- Go to the Control Panel > Devices and Printers.
- Right-click on your printer and select “Update Driver.”
- Follow the on-screen instructions.
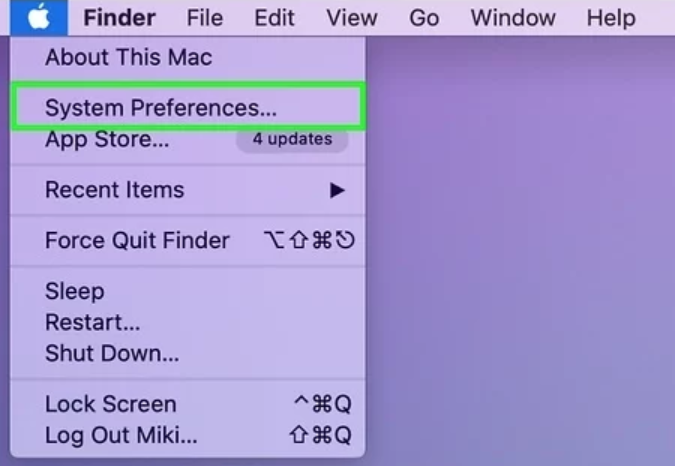
- Mac Users:
- Navigate to System Preferences > Printers & Scanners.
- Select your printer and click “Options & Supplies.”
- Check for driver updates.
Alternatively, visit the manufacturer’s website to download the latest drivers.
4. Assign a Static IP Address
Dynamic IP addresses may change, causing your printer to lose connectivity. Assigning a static IP can help:
- Access your router’s admin panel.
- Locate the list of connected devices and identify your printer.
- Assign a static IP address to the printer.
5. Disable Firewall or Antivirus Temporarily
If your firewall or antivirus software is blocking the connection, temporarily disable it to test:
- Disable the firewall settings on your computer.
- Try printing a document to see if the issue persists.
- If the printer works, adjust your firewall settings to allow the printer through.
6. Check Printer Configuration
Ensure that the printer is set up correctly:
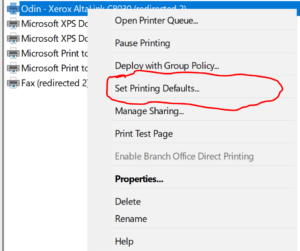
- Set your printer as the default device:
- Go to the Control Panel > Devices and Printers.
- Right-click on your printer and select “Set as Default Printer.”
- Check the printer queue:
- Open the printer queue to ensure no pending or stuck jobs are causing the issue.
7. Reset Printer Settings
Resetting the printer’s network settings can resolve configuration issues:
- Refer to your printer’s manual to reset network settings.
- Reconnect to the Wi-Fi network using the correct credentials.
8. Update Printer Firmware
Printer manufacturers release firmware updates to fix bugs and enhance performance. To update:
- Visit the manufacturer’s website.
- Download the latest firmware for your printer model.
- Install the firmware update using the instructions provided.
9. Verify Network Security Settings
Some routers have advanced security settings that may block your printer:
- Log into your router’s admin panel.
- Disable features like MAC address filtering or change the security protocol (e.g., from WPA3 to WPA2).
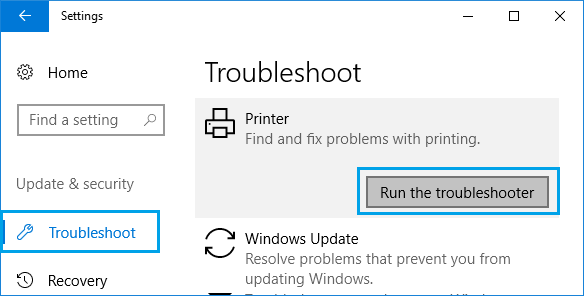
10. Use a Printer Troubleshooter
Many operating systems offer built-in troubleshooters to identify and resolve issues:
- Windows:
- Go to Settings > Devices > Printers & Scanners.
- Select your printer and click “Troubleshoot.”
- Mac:
- Navigate to System Preferences > Printers & Scanners.
- Remove the printer and re-add it to reset its connection.

11. Test with Another Device
To ensure the issue isn’t specific to your computer:
- Connect the printer to another device on the same network.
- Test printing a document to identify if the issue persists.
12. Reinstall the Printer
If none of the above solutions work, try reinstalling the printer:
- Remove the printer from your computer.
- Uninstall associated drivers and software.
- Reinstall the printer and drivers, following the manufacturer’s instructions.
Preventing Printer Connectivity Issues in the Future
- Keep your printer drivers and firmware updated.
- Use a reliable Wi-Fi network with a strong signal.
- Regularly restart your router to prevent network congestion.
- Use a static IP address for your printer.
- Periodically check for and resolve network conflicts.
A printer not responding after connecting to Wi-Fi is a common yet solvable issue. By following the troubleshooting steps outlined above, you can restore your printer’s functionality and avoid future disruptions. Regular maintenance, firmware updates, and correct configurations will ensure your printer operates seamlessly.


