
The Windows registry is a crucial component of the operating system, responsible for storing configuration settings, application paths, and user preferences. Over time, the registry can become cluttered with obsolete or broken entries, potentially slowing down your PC or causing errors. Cleaning the registry can enhance system performance and stability, but it must be done carefully to avoid critical issues.
In this guide, we’ll explore how to safely clean the registry on Windows 11 without risking important data or causing system instability.
Why Clean the Registry on Windows 11?
The Windows registry accumulates data from installed and uninstalled applications, system updates, and various user activities. Over time, this leads to:
- Redundant Entries – Unused keys from uninstalled software.
- Broken Links – Entries pointing to files or applications that no longer exist.
- Fragmentation – Clutter that can slow down system processes.
Regular registry cleaning can:
- Improve boot times.
- Enhance system responsiveness.
- Reduce errors and crashes.
Important Considerations Before Cleaning the Registry
While cleaning the registry can yield performance improvements, it’s essential to approach it cautiously. Improper modification can lead to system instability or software malfunctions.
Precautions to Take:
- Backup the Registry: Always create a backup before making changes.
- Use Reliable Tools: Avoid random third-party software and use trusted applications.
- Understand the Risks: Only delete or modify entries if you understand their purpose.
How to Backup the Windows 11 Registry
Before performing any cleanup, creating a backup ensures you can restore the registry if something goes wrong.
Steps to Backup the Registry:
- Press Windows + R, type regedit, and press Enter.
- In the Registry Editor, click File and select Export.
- Choose All under the Export range.
- Select a location, name the file (e.g., RegistryBackup), and click Save.

To restore the registry, return to the Registry Editor, select File > Import, and choose your backup file.
Methods to Safely Clean the Registry
1. Use Windows Built-in Tools
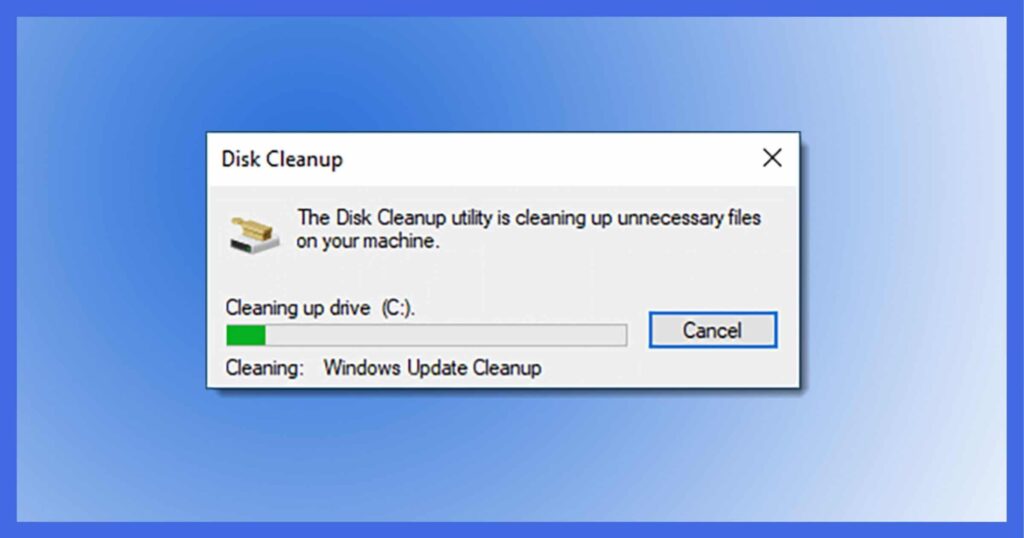
While Windows 11 does not have a dedicated registry cleaner, Disk Cleanup can remove unnecessary files that indirectly reduce registry clutter.
Steps to Use Disk Cleanup:
- Search for “Disk Cleanup” in the Start menu.
- Select the drive you want to clean (typically C:).
- Check options like Temporary Files and System Files.
- Click OK to delete the selected files.
2. Use CCleaner (Trusted Third-Party Tool)
CCleaner is one of the most reputable tools for registry cleaning. It scans for outdated or broken entries and safely removes them.
How to Use CCleaner:
- Download CCleaner from the official website.
- Install and launch the application.
- Click on Registry in the left menu.
- Select Scan for Issues.
- Once the scan is complete, click Fix Selected Issues.
- CCleaner will prompt you to back up the registry – choose Yes.
- Proceed to fix the issues.
3. Use Advanced SystemCare
Advanced SystemCare is another reliable application for deep cleaning the registry and optimizing system performance.
Steps to Use Advanced SystemCare:
- Download and install Advanced SystemCare.
- Launch the program and select Care.
- Choose Registry Clean and run the scan.
- Fix the identified issues.
4. Manual Registry Cleaning (Advanced Users Only)
Advanced users can manually clean the registry to remove obsolete entries.
Steps for Manual Cleaning:
- Open Registry Editor (Windows + R, type regedit).
- Navigate to the following keys:
- HKEY_LOCAL_MACHINE\SOFTWARE – Contains software-related entries.
- HKEY_CURRENT_USER\Software – Stores user-specific software settings.
- Carefully review entries for uninstalled software.
- Right-click on the redundant entries and select Delete.
Tip: Only delete entries if you are confident in their purpose.
Automate Registry Maintenance with Task Scheduler
You can automate registry maintenance by scheduling CCleaner or Advanced SystemCare to run periodically.
How to Automate with Task Scheduler:
- Open Task Scheduler by searching for it in the Start menu.
- Select Create Basic Task.
- Name the task (e.g., Registry Cleanup).
- Choose the frequency (daily, weekly, etc.).
- Click Next and select the program to run (e.g., CCleaner.exe).
- Click Finish to automate the cleanup process.
Common Registry Issues to Avoid
- Deleting System Entries: Avoid modifying keys under System32 or critical Windows components.
- Over-cleaning: Excessive cleaning may remove necessary entries, causing software errors.
- Using Unknown Tools: Stick to trusted tools like CCleaner and avoid lesser-known applications.
Benefits of Regular Registry Maintenance
- Faster Boot Times: Reduced clutter allows Windows to load faster.
- Smoother Performance: Fewer registry errors lead to smoother application performance.
- Fewer Crashes: Cleaning prevents software conflicts and system crashes.
Final Thoughts
Cleaning the Windows 11 registry can significantly improve system performance, but it must be approached with caution. By using trusted tools, backing up data, and understanding the process, you can safely optimize your PC without risking data loss or instability. Remember, regular maintenance is key to keeping your Windows 11 PC running smoothly and efficiently.


