Windows 11 offers a sleek interface and powerful features, but over time, even the best-performing systems can start to slow down. A sluggish PC can disrupt productivity, making tasks frustratingly slow. Fortunately, with a few simple tweaks and regular maintenance, you can boost your Windows 11 speed and keep your computer running like new. This guide will walk you through effective methods to clean up your PC and enhance its performance.
1. Uninstall Unnecessary Programs
Over time, your PC can accumulate software that you no longer use. These programs take up valuable disk space and can slow down system performance.
How to Uninstall Unnecessary Programs:
- Go to Settings > Apps > Apps & features.
- Review the list of installed applications.
- Select programs you no longer need and click Uninstall.
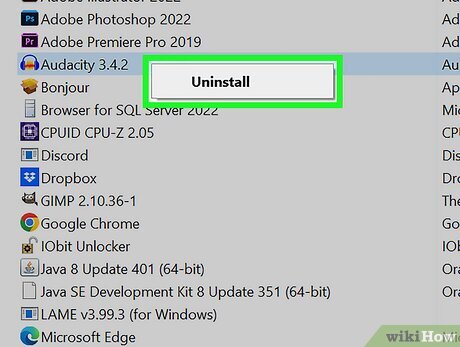
Consider removing trial software, outdated utilities, and games you no longer play. By doing so, you free up system resources and reduce background processes that may slow down your PC.
2. Disable Startup Programs
Many applications configure themselves to launch at startup, which can significantly slow down your boot time. Disabling unnecessary startup programs can give your PC a noticeable speed boost.
How to Disable Startup Programs:
- Press Ctrl + Shift + Esc to open Task Manager.
- Go to the Startup tab.
- Right-click on unnecessary applications and choose Disable.
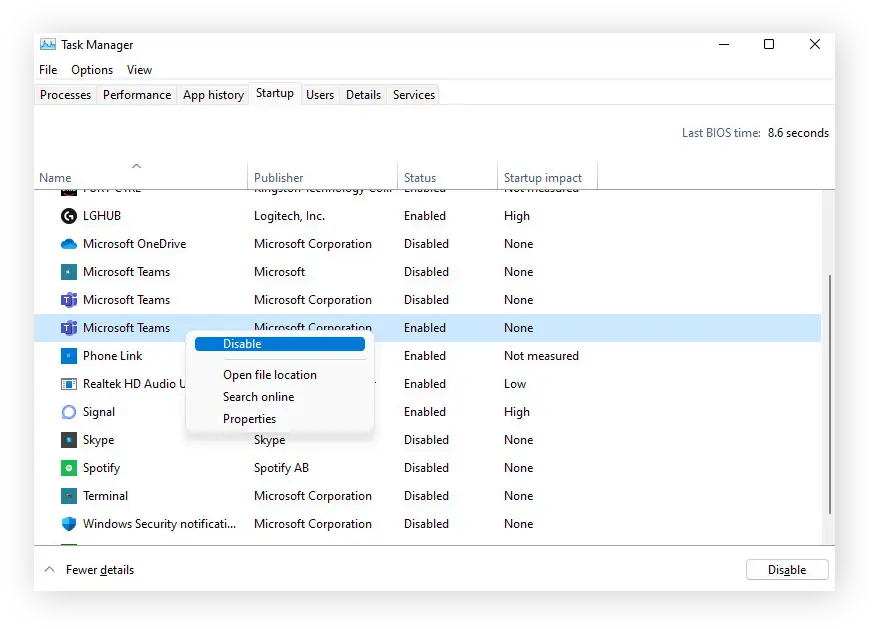
Only keep essential programs, such as antivirus software, enabled at startup. This ensures your PC boots faster and runs smoothly.
3. Clear Temporary Files
Windows 11 accumulates temporary files over time, which can clog up your storage and impact performance. Regularly clearing these files can help keep your system optimized.
How to Clear Temporary Files:
- Press Windows + R, type %temp%, and hit Enter.
- Delete all the files in the folder that appears.
- Go to Settings > System > Storage.
- Click Temporary files and select items to delete, then click Remove files.
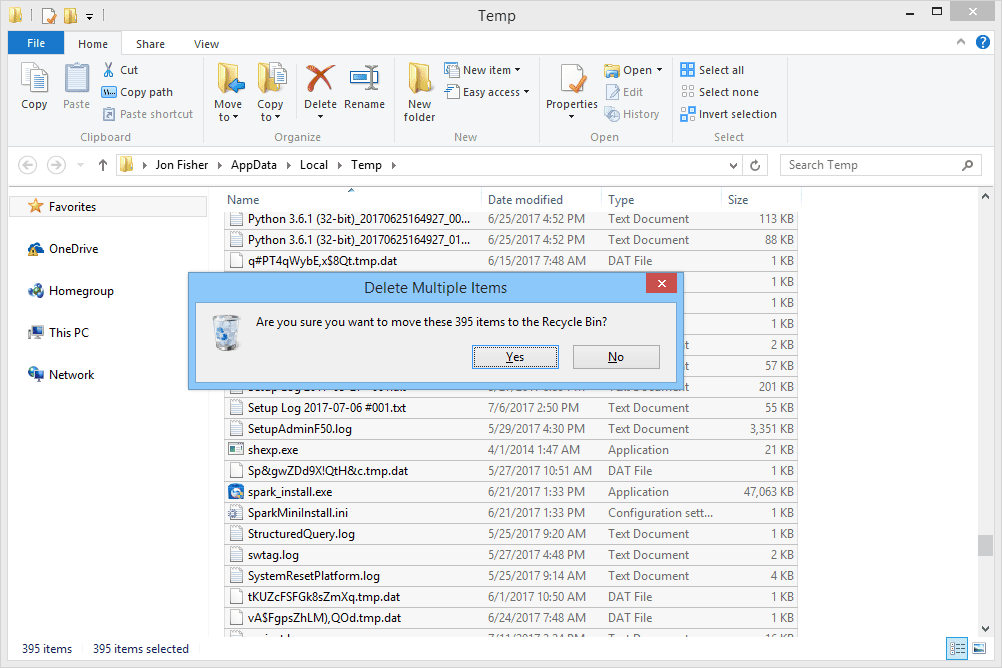
Clearing temporary files is a quick and easy way to reclaim storage and improve system speed.
4. Manage Storage with Storage Sense
Windows 11 features Storage Sense, an automated tool that helps you manage disk space by deleting unnecessary files regularly.
How to Enable Storage Sense:
- Go to Settings > System > Storage.
- Toggle on Storage Sense.
- Customize the settings to delete temporary files, clear the Recycle Bin, and remove old downloads.
With Storage Sense activated, your PC automatically stays clutter-free, enhancing performance without manual intervention.
5. Defragment and Optimize Drives
Defragmenting your hard drive can improve data retrieval speeds, which can boost overall system performance. Windows 11 automatically schedules defragmentation, but you can manually optimize your drives.
How to Defragment and Optimize Drives:
- Type Defragment and Optimize Drives in the search bar and select it.
- Choose your drive and click Optimize.
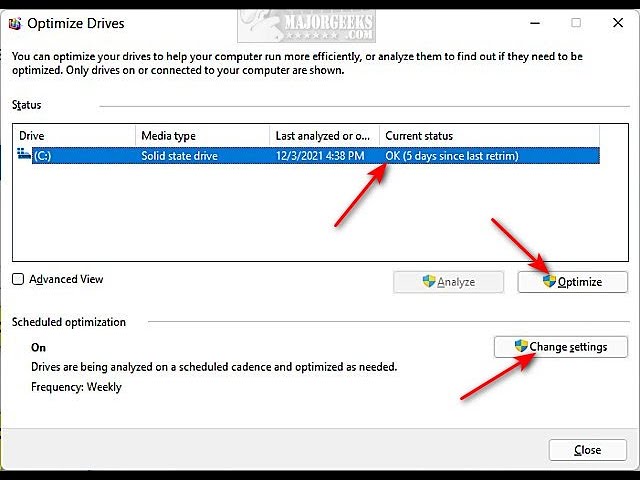
If you have an SSD (Solid State Drive), defragmentation isn’t necessary. Instead, Windows will perform TRIM operations to optimize the drive.
6. Adjust Visual Effects
Windows 11 features enhanced visual effects that can sometimes slow down performance, especially on older hardware. Adjusting these settings can free up system resources.
How to Adjust Visual Effects:
- Press Windows + R, type sysdm.cpl, and hit Enter.
- Go to the Advanced tab and click Settings under Performance.
- Select Adjust for best performance or customize by unchecking specific visual effects.
Disabling unnecessary animations and shadows can provide a noticeable performance boost.
7. Update Windows and Drivers
Outdated software and drivers can lead to performance issues. Keeping Windows 11 and all device drivers up-to-date ensures optimal system performance.
How to Update Windows and Drivers:
- Go to Settings > Windows Update and click Check for updates.
- For drivers, open Device Manager, right-click the component you want to update, and select Update driver.
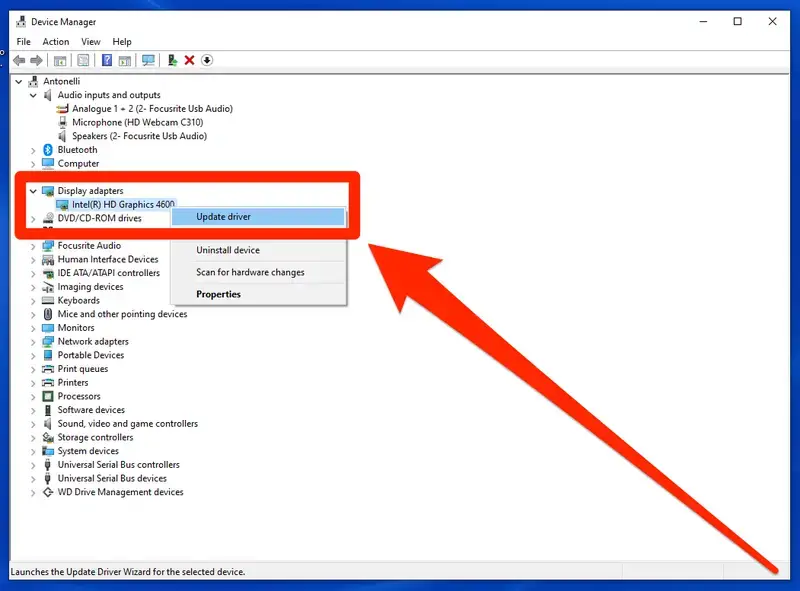
Regular updates often include performance improvements and bug fixes that can keep your system running smoothly.
8. Run Disk Cleanup
Windows 11 comes with a built-in Disk Cleanup utility that helps remove unnecessary files.
How to Run Disk Cleanup:
- Type Disk Cleanup in the search bar and select it.
- Choose the drive you want to clean.
- Select file types to delete and click OK.

Running Disk Cleanup regularly prevents unnecessary files from accumulating and slowing down your PC.
9. Scan for Malware and Viruses
Malware and viruses can severely affect your PC’s speed and performance. Regularly scanning your system with reliable antivirus software helps keep your computer secure.
How to Scan for Malware:
- Use Windows Security (built into Windows 11) or third-party antivirus programs.
- Perform a full system scan and remove any detected threats.
Keeping malware at bay ensures that your PC operates at peak performance.
10. Upgrade Hardware if Necessary
If software tweaks and maintenance don’t yield significant improvements, consider upgrading your hardware.
Potential Hardware Upgrades:
- Add more RAM to enhance multitasking capabilities.
- Upgrade to an SSD for faster boot and load times.
- Replace your graphics card if you use resource-heavy applications or games.
Hardware upgrades can dramatically boost performance and extend the lifespan of your PC.
Boosting Windows 11 speed doesn’t have to be complicated. By following these tips to clean up your PC efficiently, you can ensure that your computer remains fast, responsive, and reliable. Regular maintenance, updates, and small tweaks can make a significant difference, allowing you to enjoy the full potential of Windows 11.


