
Windows 11 is built to be more efficient than earlier versions, but as time goes by, your PC’s performance can slow down due to unnecessary files, background programs, and system inefficiencies. Fortunately, with a few simple adjustments, you can improve your Windows 11 computer’s speed and overall performance. This guide highlights easy-to-follow tips to help you optimize your system without the need for advanced technical expertise or expensive upgrades.
1. Enable High-Performance Power Plan
Windows 11 is set to balance performance and energy efficiency by default. However, if you want to prioritize performance, switching to a high-performance power plan can make a noticeable difference.
How to Enable High-Performance Mode:
- Press Windows + I to open Settings.
- Go to System > Power & battery.
- Under Power mode, select Best performance.
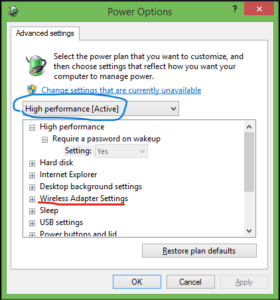
This ensures your PC uses maximum processing power, which is particularly useful when running resource-intensive applications or games.
2. Disable Startup Programs
Many programs automatically start when you boot up your PC, slowing down startup times and consuming system resources.
How to Disable Startup Programs:
- Press Ctrl + Shift + Esc to open Task Manager.
- Click on the Startup tab.
- Review the list and disable unnecessary programs by right-clicking and selecting Disable.
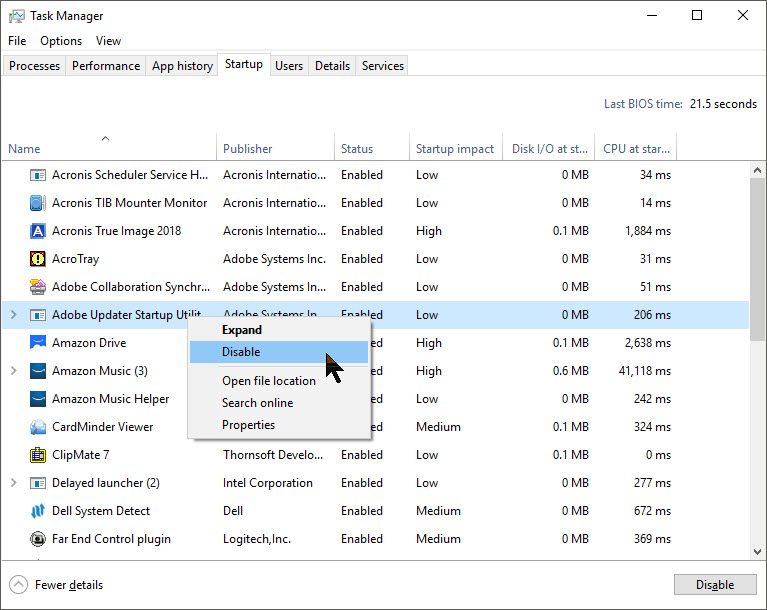
Disabling unnecessary startup apps can significantly speed up boot time and reduce background processes.
3. Uninstall Unnecessary Software
Unused applications take up disk space and can run background processes that slow down your PC.
Steps to Uninstall Unused Apps:
- Go to Settings > Apps > Installed apps.
- Review the list and click on apps you no longer need.
- Click Uninstall to remove them.

Performing regular app maintenance can free up valuable disk space and improve overall performance.
4. Clear Temporary Files
Over time, temporary files accumulate and take up space, potentially slowing down your system.
How to Delete Temporary Files:
- Open Settings > System > Storage.
- Click on Temporary files.
- Select the files you wish to delete and click Remove files.
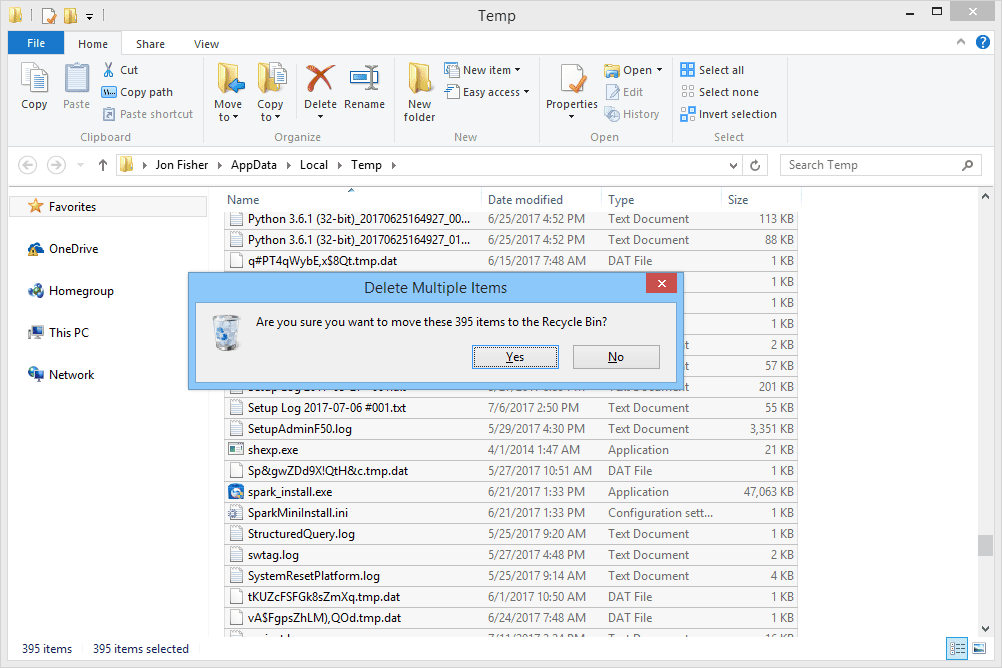
Regularly clearing temporary files can free up disk space and speed up file access times.
5. Optimize Storage with Storage Sense
Storage Sense is a built-in Windows 11 feature that automatically manages and frees up disk space.
How to Enable Storage Sense:
- Go to Settings > System > Storage.
- Toggle on Storage Sense.
- Configure it to automatically delete temporary files, empty the recycle bin, and clean downloads.
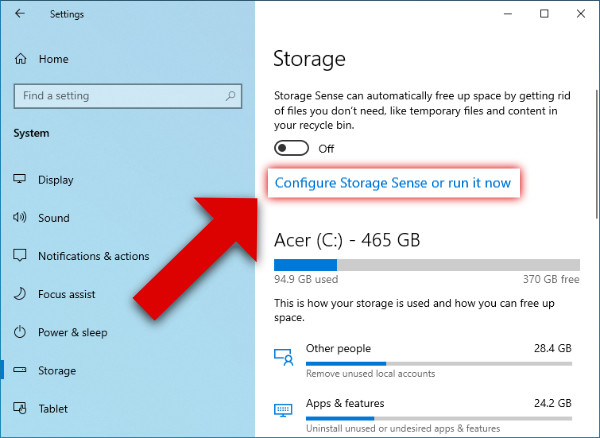
Automating disk cleanup ensures that unnecessary files don’t pile up over time.
6. Update Windows and Drivers
Outdated software and drivers can lead to compatibility issues and performance bottlenecks.
How to Update Windows and Drivers:
- Go to Settings > Windows Update.
- Click Check for updates and install any available updates.
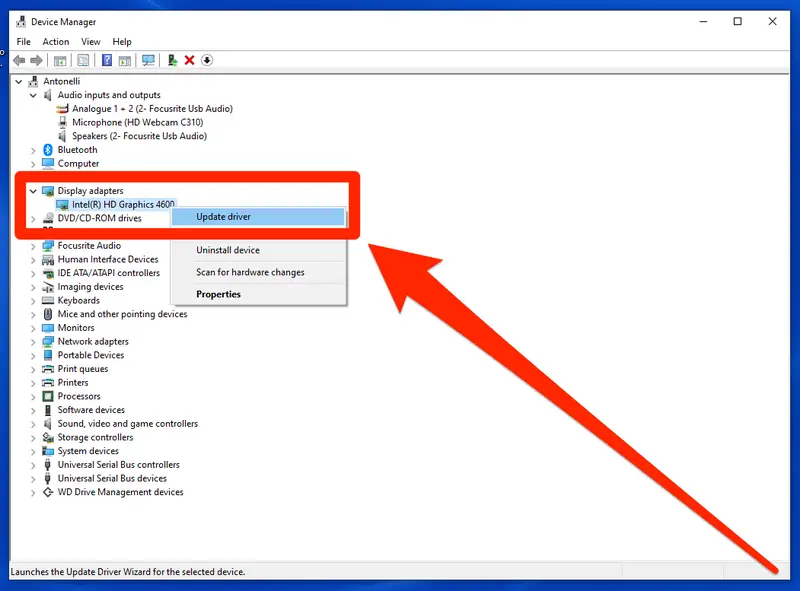
- For drivers, go to Device Manager by pressing Windows + X and selecting it.
- Right-click on the devices you want to update and select Update driver.
Keeping your system up-to-date ensures security patches, bug fixes, and performance improvements are applied.
7. Adjust Visual Effects
Windows 11 features eye-catching animations and visual effects, but they can consume system resources.
How to Adjust Visual Effects for Performance:
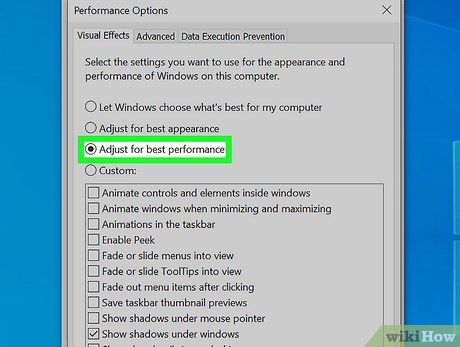
- Press Windows + S and search for Advanced system settings.
- Under Performance, click on Settings.
- Select Adjust for best performance or manually disable specific effects.
Reducing visual effects can improve responsiveness, especially on older or lower-spec PCs.
8. Defragment and Optimize Drives
Over time, files on traditional hard drives can become fragmented, leading to slower read and write speeds.
How to Defragment Drives:
- Press Windows + S and search for Defragment and Optimize Drives.
- Select the drive you wish to optimize and click Optimize.
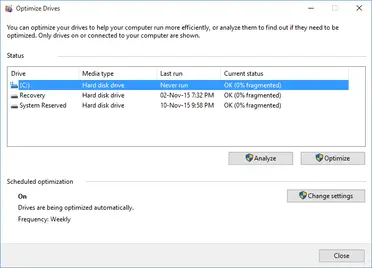
For SSDs, Windows 11 automatically optimizes the drive, ensuring peak performance.
9. Disable Background Apps
Background apps continue to run even when you’re not actively using them, draining system resources.
How to Disable Background Apps:
- Go to Settings > Apps > Apps & features.
- Click on any app and select Advanced options.
- Under Background app permissions, choose Never.
Disabling unnecessary background apps can free up RAM and CPU, boosting system performance.
10. Manage Virtual Memory (Paging File)
Virtual memory acts as an extension of your RAM, and adjusting it can help improve performance.
How to Adjust Virtual Memory:
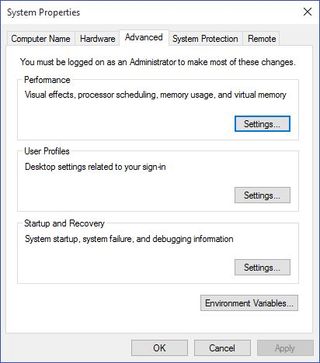
- Press Windows + S and search for Advanced system settings.
- Under Performance, click Settings.
- Go to the Advanced tab and click Change under Virtual memory.
- Uncheck Automatically manage paging file size for all drives.
- Select Custom size and enter a recommended size (usually 1.5 to 3 times your RAM size).
Fine-tuning virtual memory can prevent slowdowns, especially during resource-heavy tasks.
11. Turn Off Notifications and Tips
Constant notifications and tips can interrupt workflows and consume resources.
How to Disable Notifications:
- Go to Settings > System > Notifications.
- Toggle off Notifications from apps and other senders.
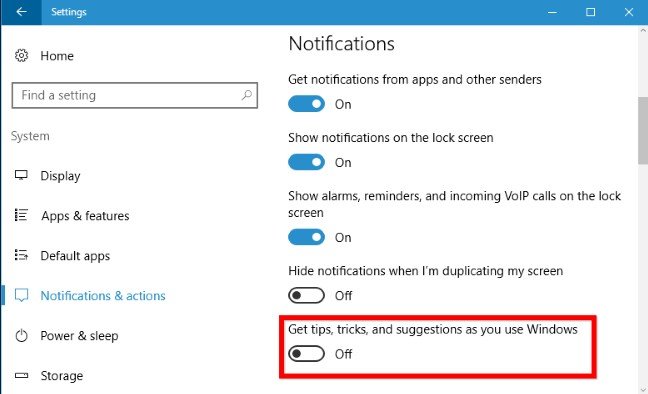
Reducing notifications helps maintain focus and reduces background processes.
12. Scan for Malware and Viruses
Malware and viruses can severely impact performance by running hidden processes in the background.
How to Perform a Security Scan:
- Open Settings > Privacy & Security > Windows Security.
- Click on Virus & Threat Protection and select Quick Scan.
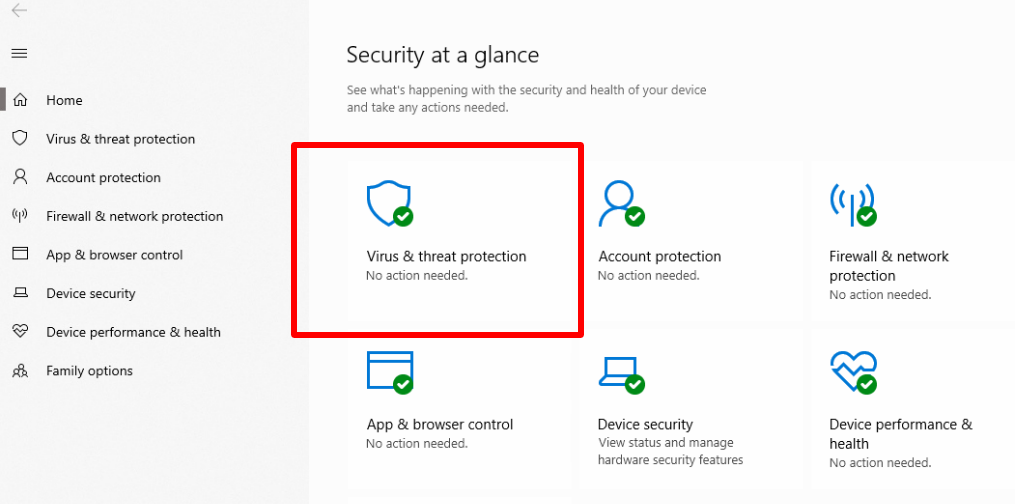
Ensuring your PC is free from malware helps maintain peak performance.
By following these simple tips, you can maximize the performance of your Windows 11 PC and ensure it remains fast, responsive, and efficient. Regular maintenance, such as clearing temporary files, disabling startup programs, and optimizing drives, will keep your system running smoothly. Investing a few minutes into system optimization can lead to significant improvements in speed and overall user experience.


